This recipe is from Khun Jumjee in Pantip. The ingredients and method are mostly the same as the original. The only change is the matcha green tea powder and a little bit of matcha green tea powder is added to the cream. ^^
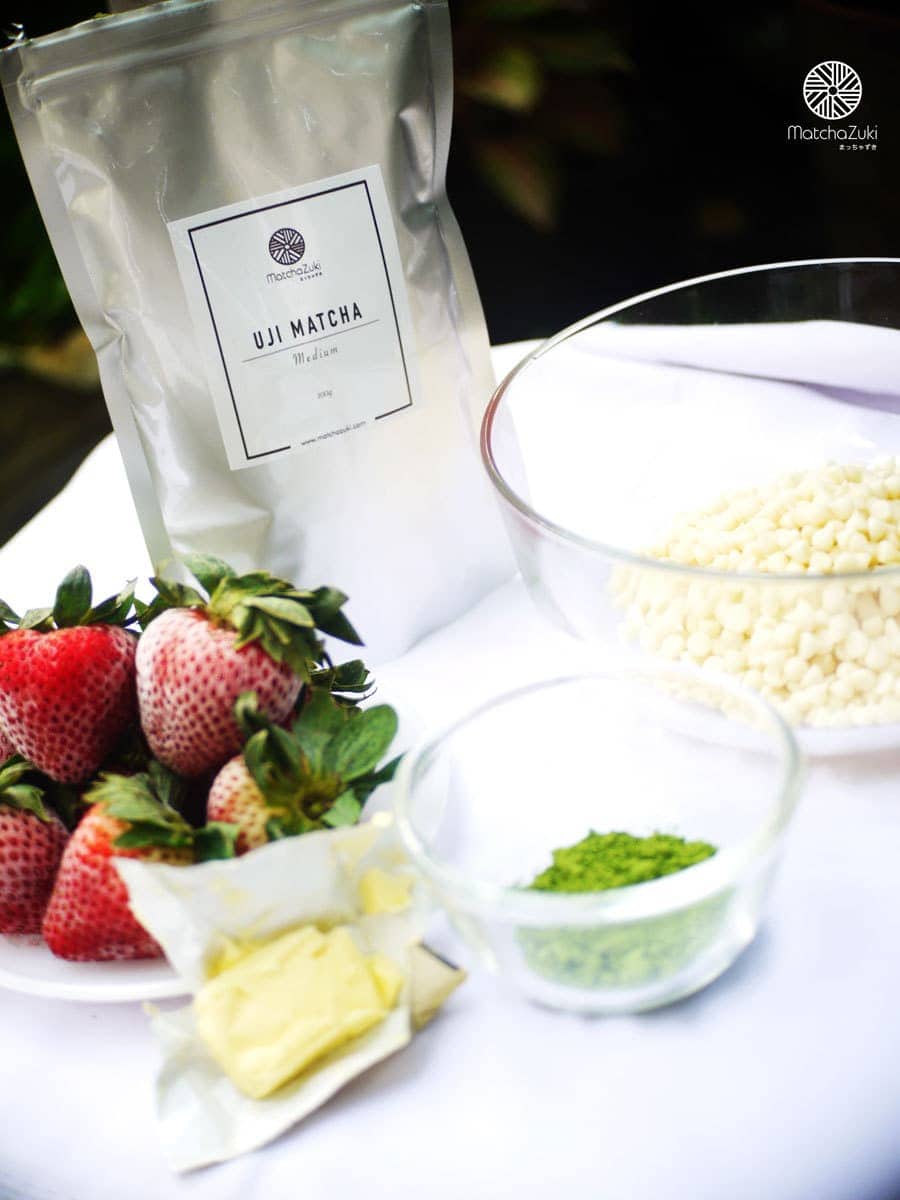
Key Ingredients (for a 2-pound cake)
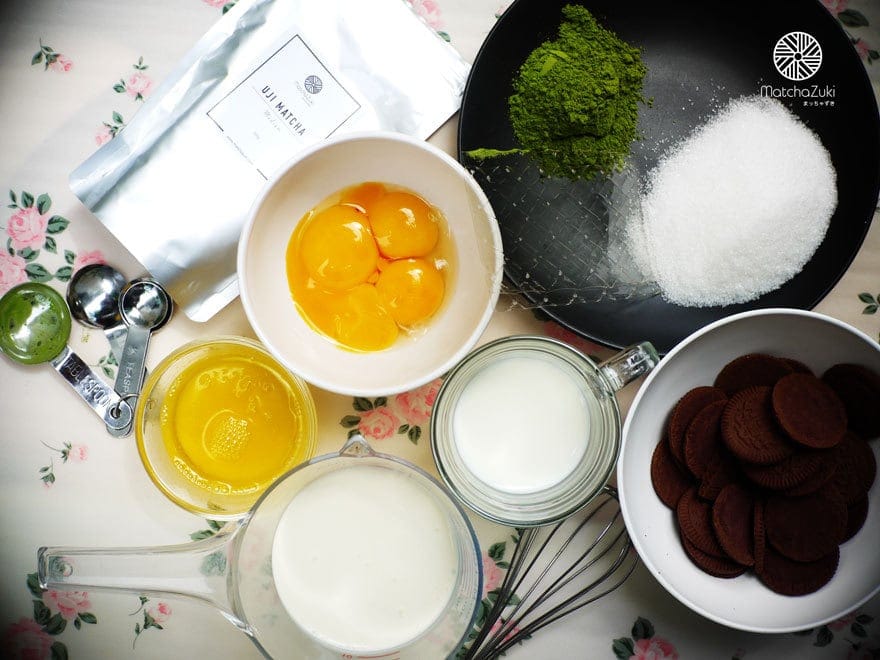
Cake batter
1. 40 grams of cake flour
2. 50 grams of fine baking sugar
3. Matcha green tea powder (medium grade) 2 teaspoons
5. 1/4 teaspoon salt
4. 1/2 teaspoon vanilla powder
6. Egg yolks (size 2), 2 eggs
7. Vegetable oil (in the recipe, soybean oil is used) 30 grams
8. 50 grams of fresh milk
9. 2 egg whites
10. 30 grams of powdered sugar
11. A little bit of lemon juice
Cream part
1. Whipping cream 250 grams
2. 50 grams of fine baking sugar
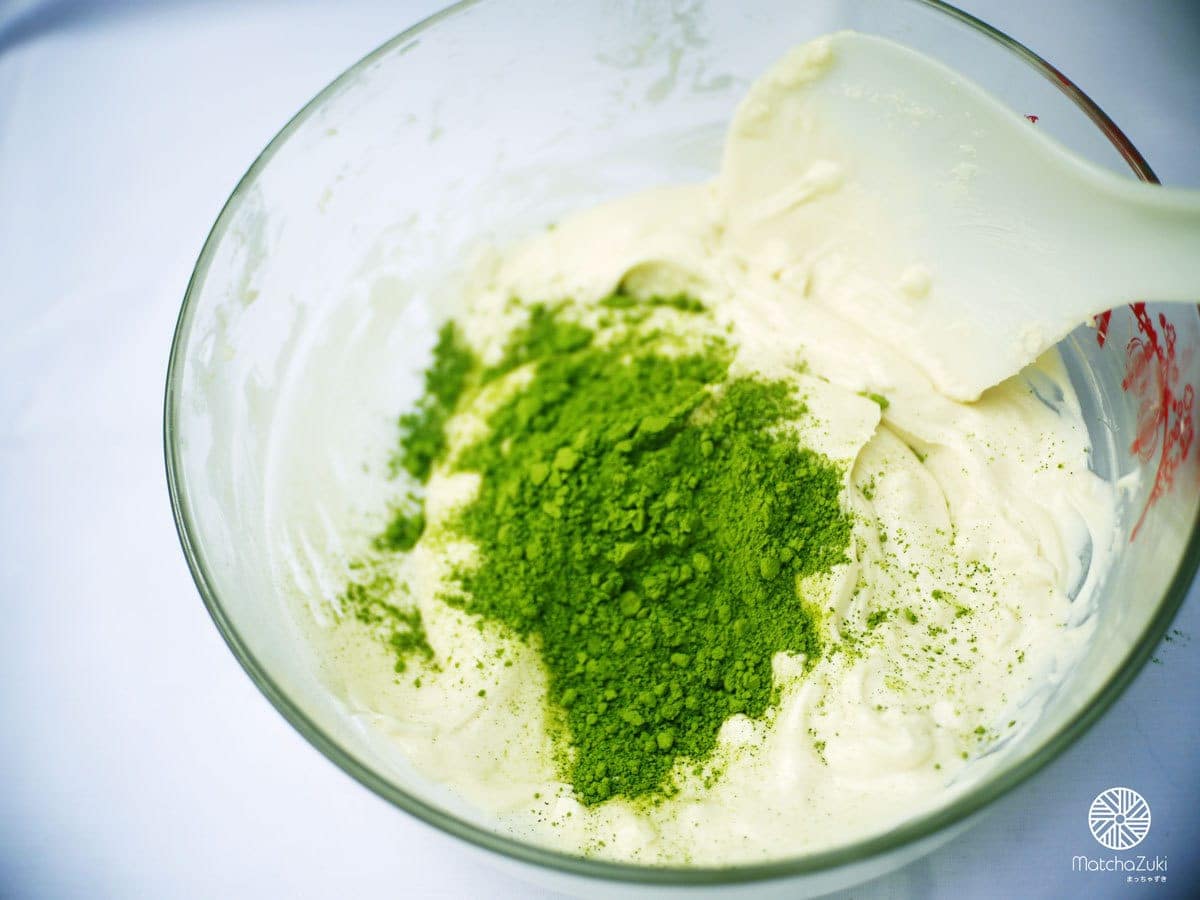
3. MATCHAZUKI Excellent grade matcha powder 1.5 teaspoons
Procedure
1. Put flour in a bowl, followed by sugar , matcha green tea powder, vanilla powder, and finally salt.
2. Use a hand whisk to mix all ingredients until they are well blended and do not clump together. Set aside.
3. Next, make the egg yolk part. Start by cracking cold eggs into a cup or bowl (eggs are very important for chiffon cake, so they should be fresh). Separate the egg yolks from the whites, then put the egg whites in a mixing bowl and set aside.
4. Add the egg yolk cup, add oil and then add fresh milk. Set aside.
5. For the last part, which is the egg white part, prepare these 3 things: egg white, lemon juice, and powdered sugar. Separate them first. But you have to prepare them because you have to make them quickly and bake them quickly, or else the eggs will collapse.
6. Preheat oven to 180 degrees Celsius.
7. When everything is ready, start by beating the egg whites on high speed until they are foamy.
8. Squeeze some lemon juice.
9. Then gradually add in the powdered sugar. Do not add it all at once, as this may cause the egg bubbles to collapse.
10. Beat until it forms peaks as shown in the picture.
11. Make the egg yolk mixture. Pour the egg yolk mixture into the flour mixture. Some people may make a well in the center, which will help.
12. Stir quickly, vigorously, and just right. This is the phrase you need to memorize when stirring the egg yolk mixture (the cake will come out soft and melt in your mouth or tough and rough depending on the amount of stirring). Stir until just combined. If you don’t see any white flour, stop immediately.
13. Put the egg whites on top. Actually, according to the theory, you have to pour the flour and egg yolk mixture on top because the egg yolk flour mixture is heavier than the egg white mixture. If we put it on the bottom like this, it will make it difficult to mix together. But that doesn’t mean there’s no way around it. After putting it in like this, flip the egg yolk flour mixture over and pour it on top of the egg white mixture. It will be much easier to mix.
14. Use a rubber spatula to mix the ingredients together. [*Folding means to scrape the rubber spatula along the surface of the mixing bowl to lift the ingredients that are stuck to the edges of the bowl (which are usually heavy ingredients, such as egg yolk flour, etc.) up, not sticking to the edges of the bowl, which will make it difficult to mix. When the heavy ingredients have lifted up to prevent them from sticking back to the edges of the bowl, we flip the rubber spatula to place the heavy ingredients in the center. Now it’s easy to mix, which is called folding.]
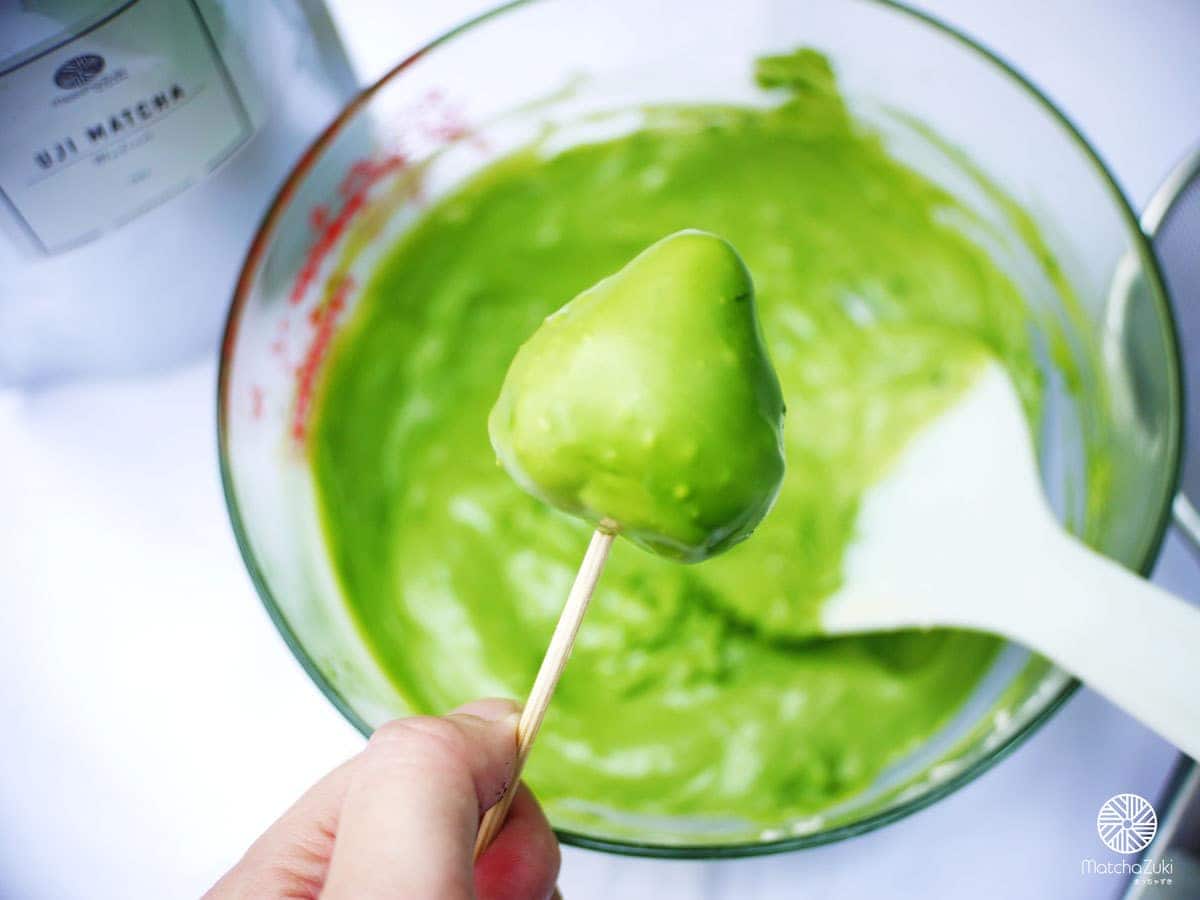
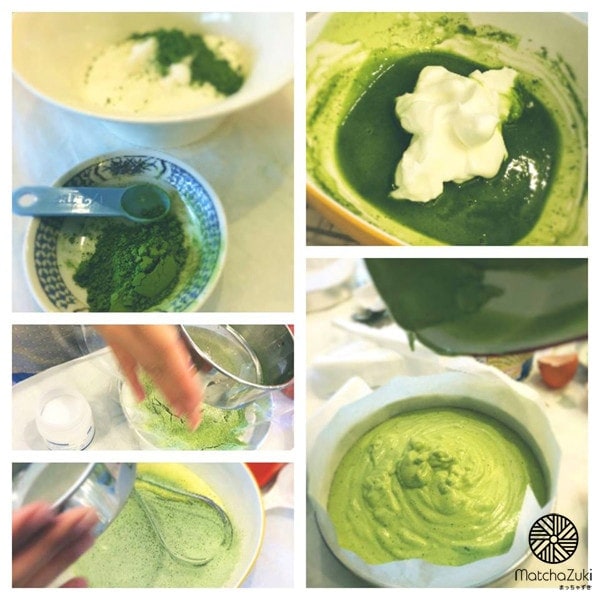
15. When mixed together, stop mixing. Observe that the color of the mixture has no streaks. A dark color (in this case, green) means it is mixed. Tap the mold first by doing the following: hold the mold higher than the table surface and let the mold fall freely. Do it about two times to get rid of air bubbles in the cake. Don’t be afraid of it collapsing. Then pour it into the mold and put it in the oven.
16. Bake for about 30 minutes. (**Note: The cake must be cooked. Check for doneness by touching the surface of the cake with your finger. If it sinks and you see a mark when you remove your finger, it is not done yet. Bake for another 3-5 minutes and touch it again. If you start to see no sign of sinking, it is done. Remove it from the oven and use the same technique as before baking: let it fall freely. If it is done, it will not sink, I guarantee it.)
17. Let it cool in the mold or you can scoop it out. It’s not against the rules. Another technique is to turn it upside down on a wire rack. I’ve shared this with my friends, brothers, and sisters here. It’s a good technique because it prevents the cake from collapsing and the texture of the cake is light.
18. Then slice the cake.
19. Now let’s make the cream. This recipe is smooth and not too sweet. If you add more sugar, the aroma of the whipped cream will be greatly reduced. Believe it or not, put the whipping cream in the freezer. But don’t put it in for too long because there is a high risk that the whipped cream will separate. Actually, it is not recommended for beginners because it is easy to make a mistake. But if you have done it before, you can freeze it for 10-15 minutes and it is still usable and easy to whip.
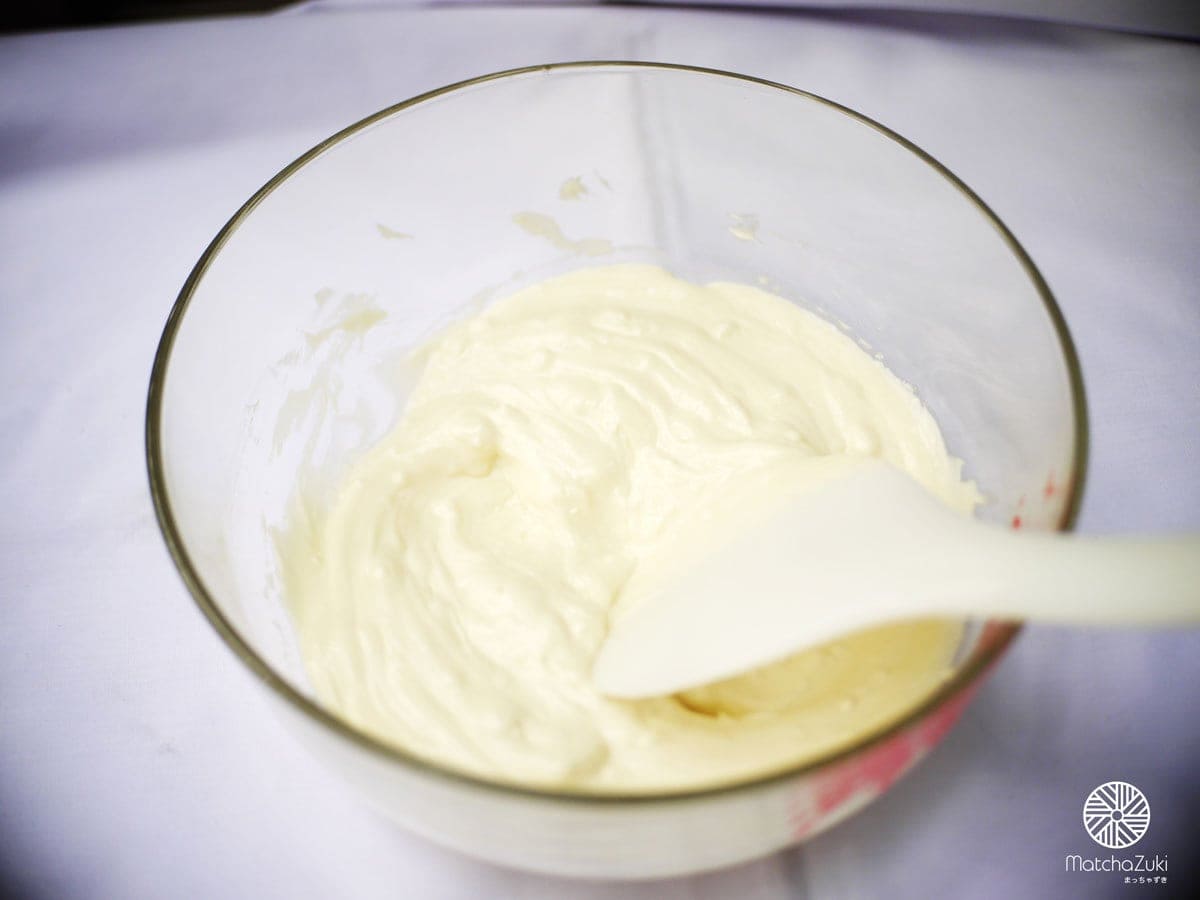
20. When done, beat at high speed and gradually add in powdered sugar. Actually, beat until it starts to form a whisk mark on the whipped cream, then add it right away or add a little bit first. But don’t add it too late because the sugar will not dissolve.
21. When the peaks are stiff, it’s ready. Don’t make it too runny because it will run. It’s okay if it’s a little stiff because the cake is already light. But don’t beat it too much until the whipped cream separates. When you can see the whisk’s tip clearly, you can stop. Be careful with this.
22. Once it’s done, you can put the cream in the refrigerator first because it might be hot. You can freeze it for about 10 minutes, then start decorating it. Spread the cream until it’s as thick as in the picture. Stick the top piece.
23. Spread the cream all over the cake.
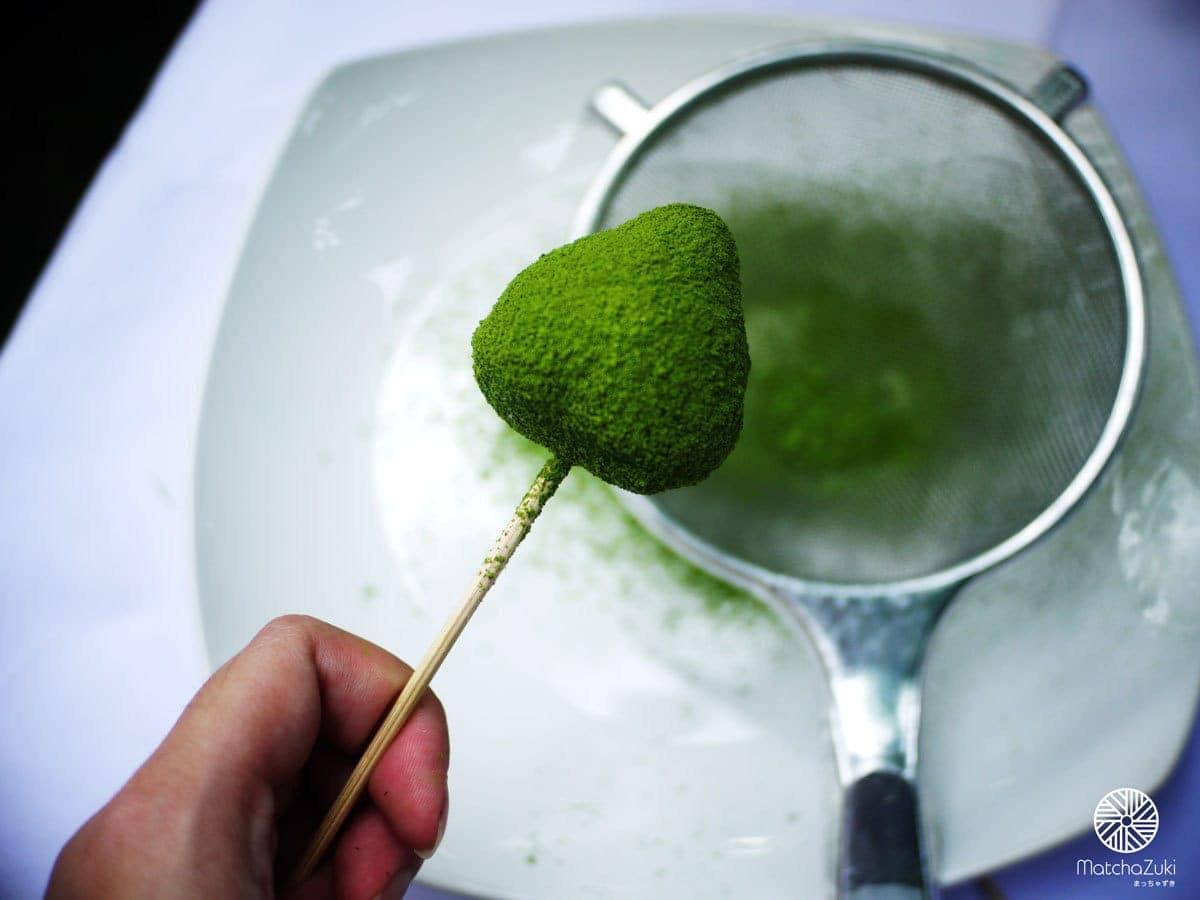
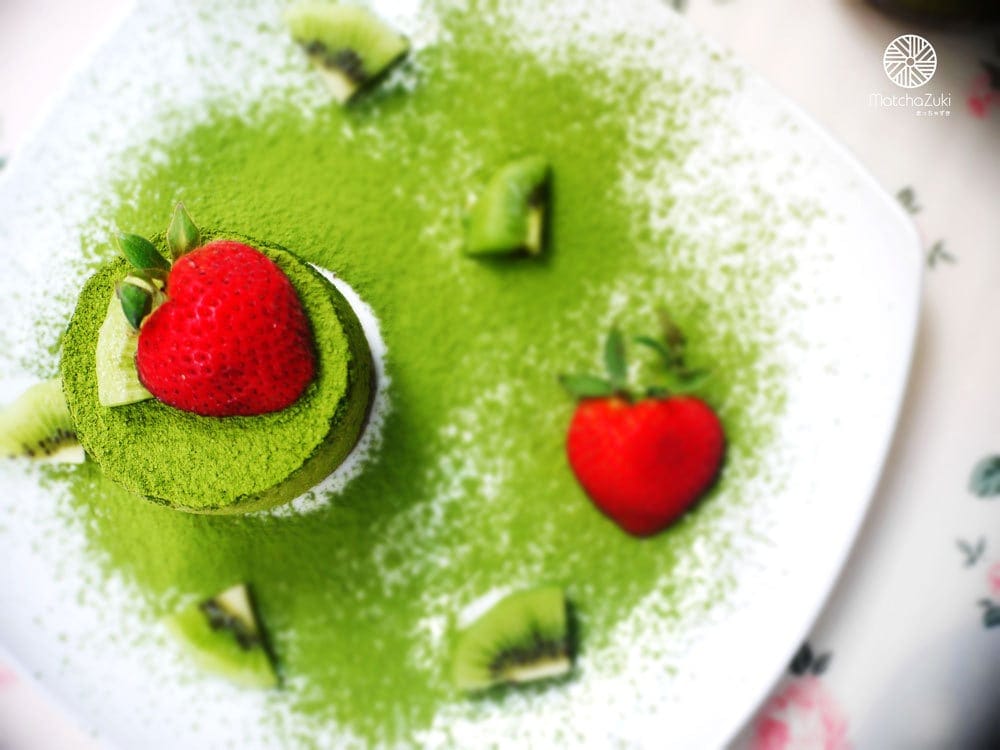
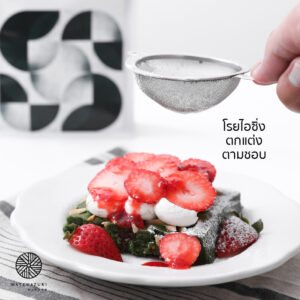
24. The final step is to sprinkle green tea powder onto the surface by sifting it through a sieve.
That’s it. Have fun doing it ^.^